
Solution Accelerator for Data Center Networking Lab
Introduction
This session is designed for all roles—sales, technical pre-sales (SEs & Architects), and distributors supporting resellers. If you’re looking to help your customers build-out or expand their data centers with market-leading DC switching and one-of-a-kind management capabilities, Solution Accelerator will help you do just that. Don’t miss this opportunity to sharpen your competitive edge and accelerate your impact in the market. Technical Champions will be empowered to claim $1,000 for each registered PoV!
Get started today by on-ramping into Solution Accelerator for Data Center Networking and stand out in the market with a faster, more effective approach to:
Conducting high-impact Discovery Meetings
Rapidly offer a competitive Juniper BOM
Deliver Proof-of-Value in a Single Day!
Why It Matters
Solutions Accelerator, What’s in it for you?
Elevate sales acumen | Sharpen prospecting skills
Interactive to maximize knowledge exchange
Actionable takeaways immediately applicable to sales efforts
Valuable resources | Insights to succeed

Following today’s session:
Think about prospects you have to share this info with
Make calls
Submit claims
Engage with JNPR team
No matter your role—whether you’re in sales, technical pre-sales as a SE or Architect, or supporting resellers as a distributor—the Solution Accelerator speeds up the sales process associated with data center networking!
Stand out in the market with a faster, more effective approach and narrative for conducting high-impact ‘Discovery Meetings’, rapidly delivering competitive Juniper BOM along with same-day PoV!


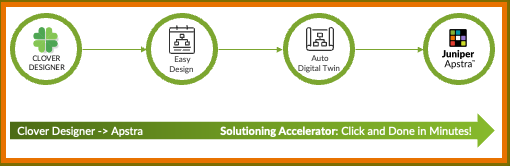
Create High-Level Design and BOM in Clover
What is the Clover?
Clover is a SaaS product developed by Juniper Networks designed to assist Sales Engineers (SEs) and Partner Sales Engineers in building Data Centre Fabric designs for various customer use cases. By collecting simple requirements from the customers, Clover generates comprehensive designs, including a Bill of Materials (BoM) with the necessary Juniper equipment and presentations. This tool enables SEs to have quality conversations with customers quickly, leveraging best practices built into the system.
What is Clover For?
Designing Data Centre Fabrics: Clover helps in creating scalable and efficient data centre fabric designs tailored to customer needs.
Generating Bills of Materials: Automatically generates detailed BoMs to simplify procurement and budgeting processes.
Creating Presentations: Produces presentation materials that SEs can use to communicate designs and value propositions to customers.
Exporting Configurations: Allows exporting designs into various formats, including Terraform for automated deployments.
Who is Clover For?
Juniper Sales Engineers: To enhance pre-sales engagements and provide quick, accurate data centre designs.
Partner Sales Engineers: To collaborate with Juniper and deliver customised solutions to end customers.
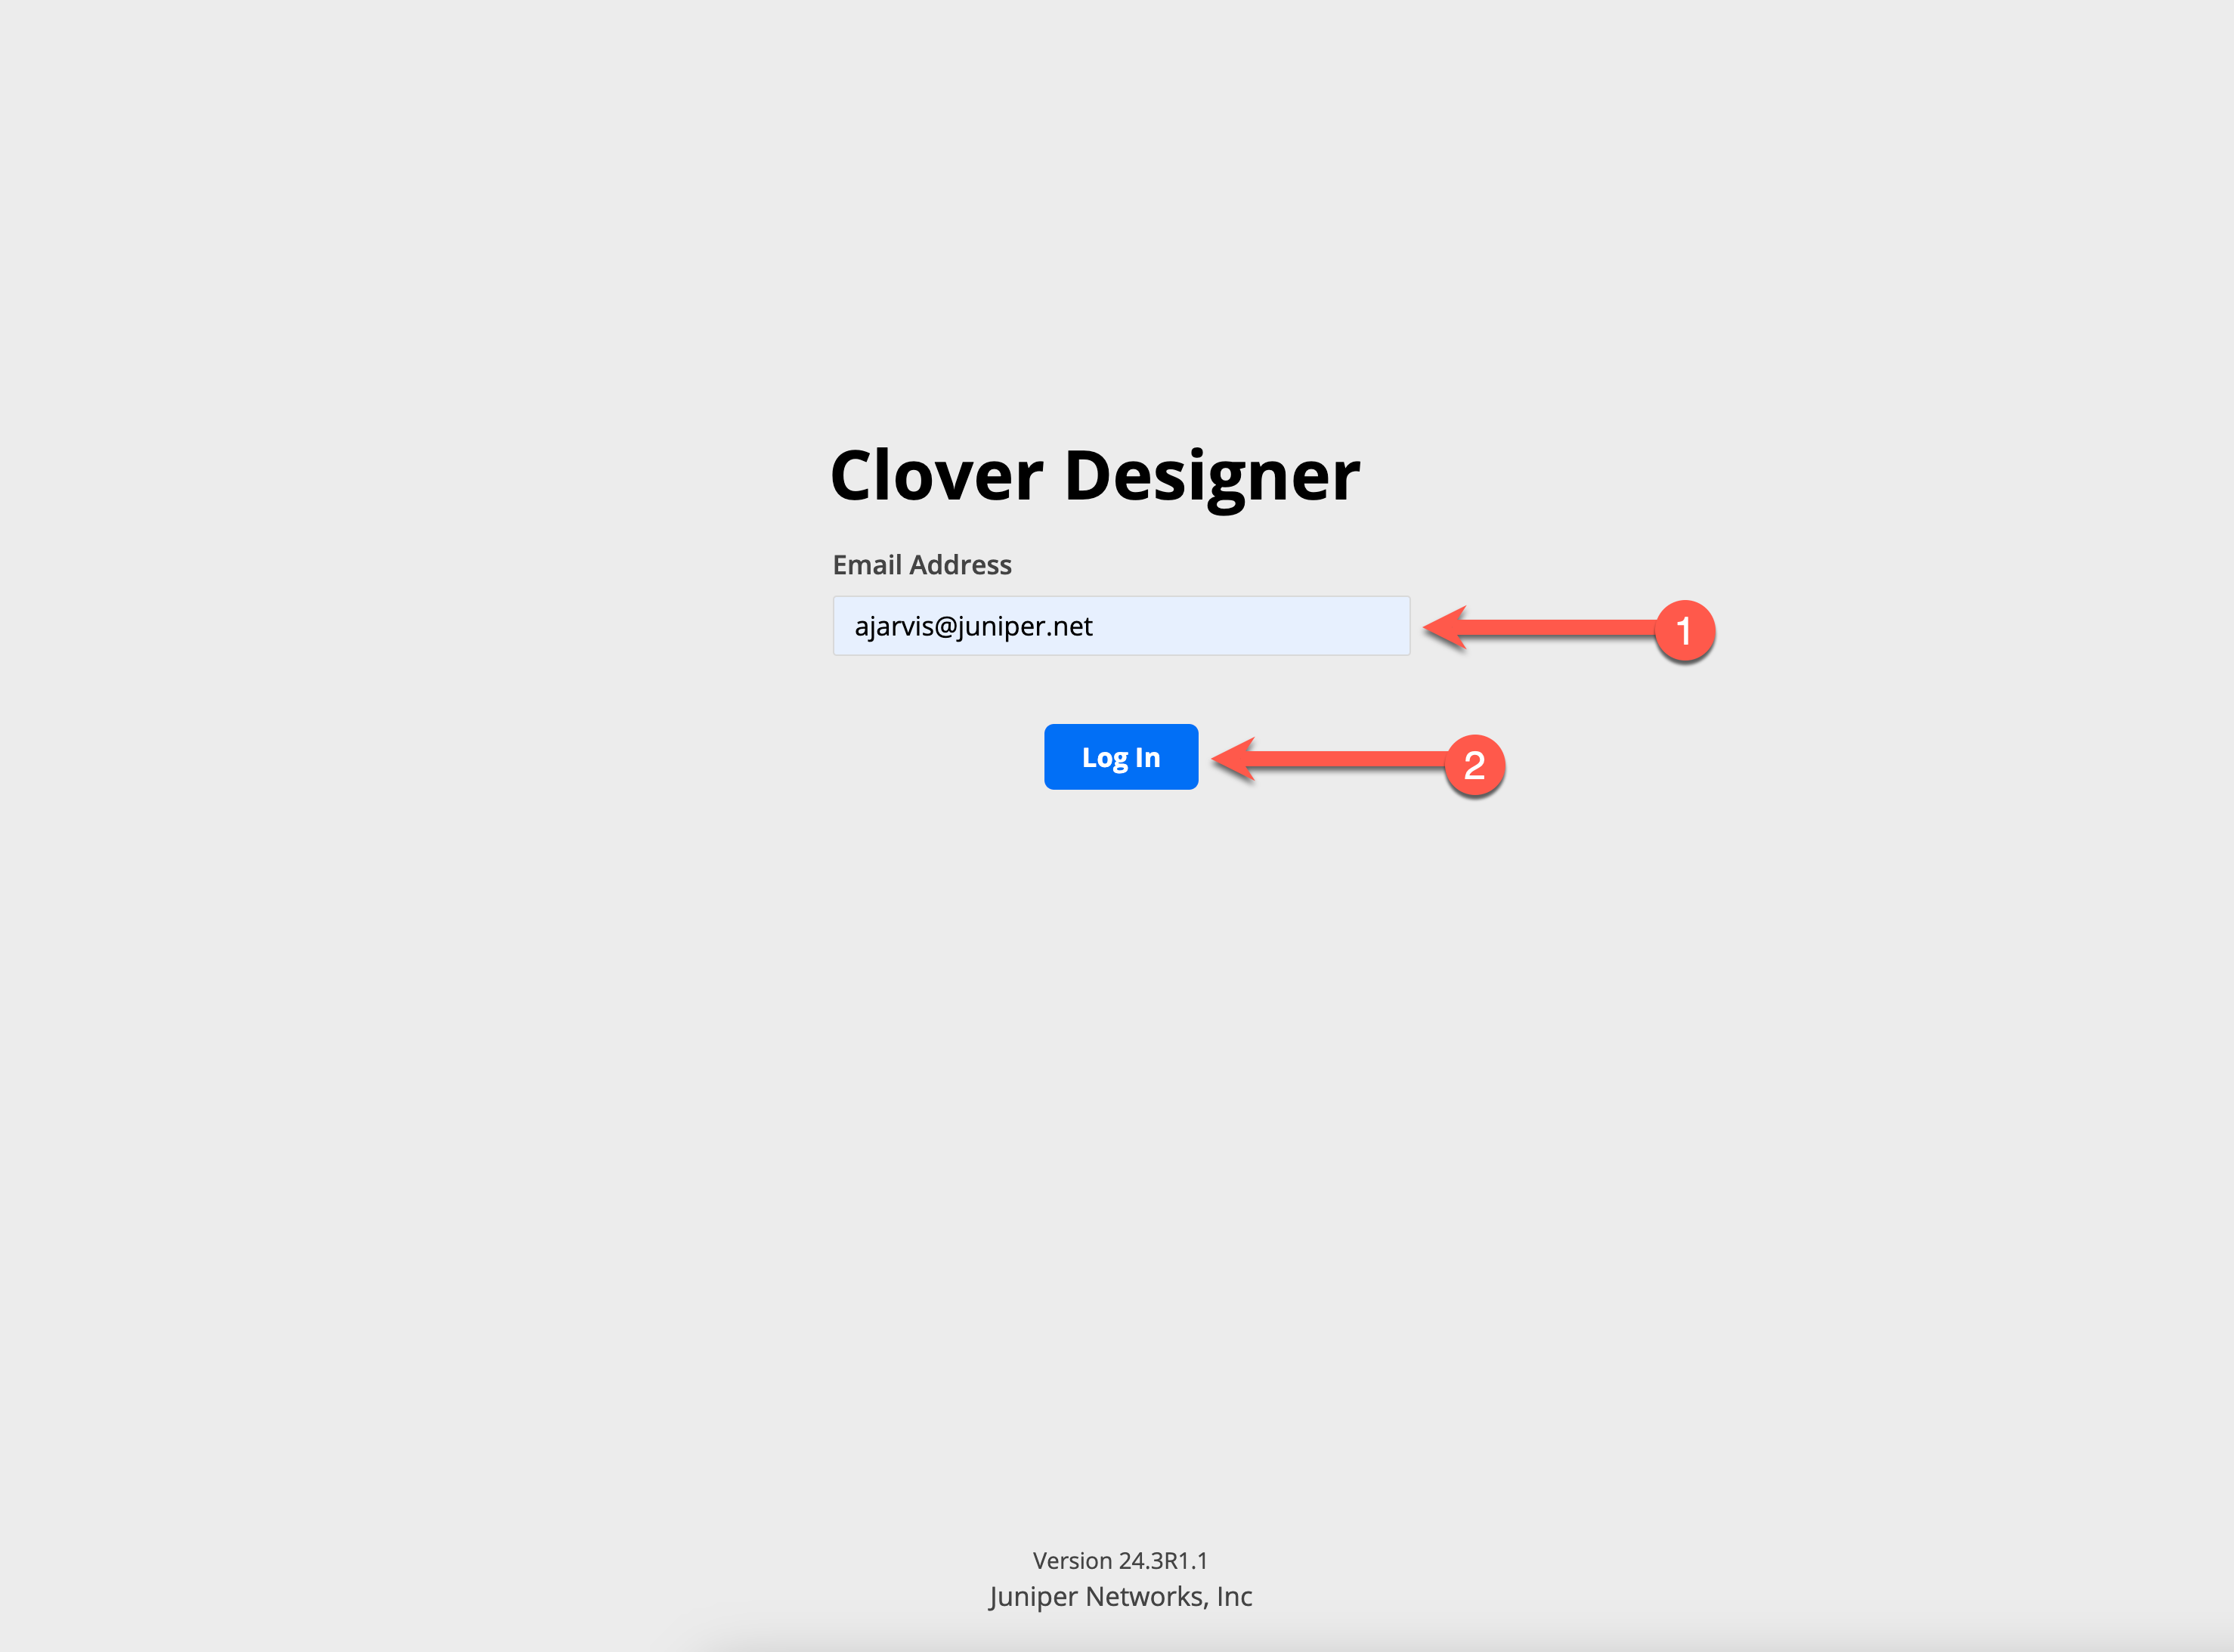
Logging in to Clover
To access the Clover Designer tool:
Open your web browser and navigate to https://clover.juniperinfra.net/.
Login using your email.
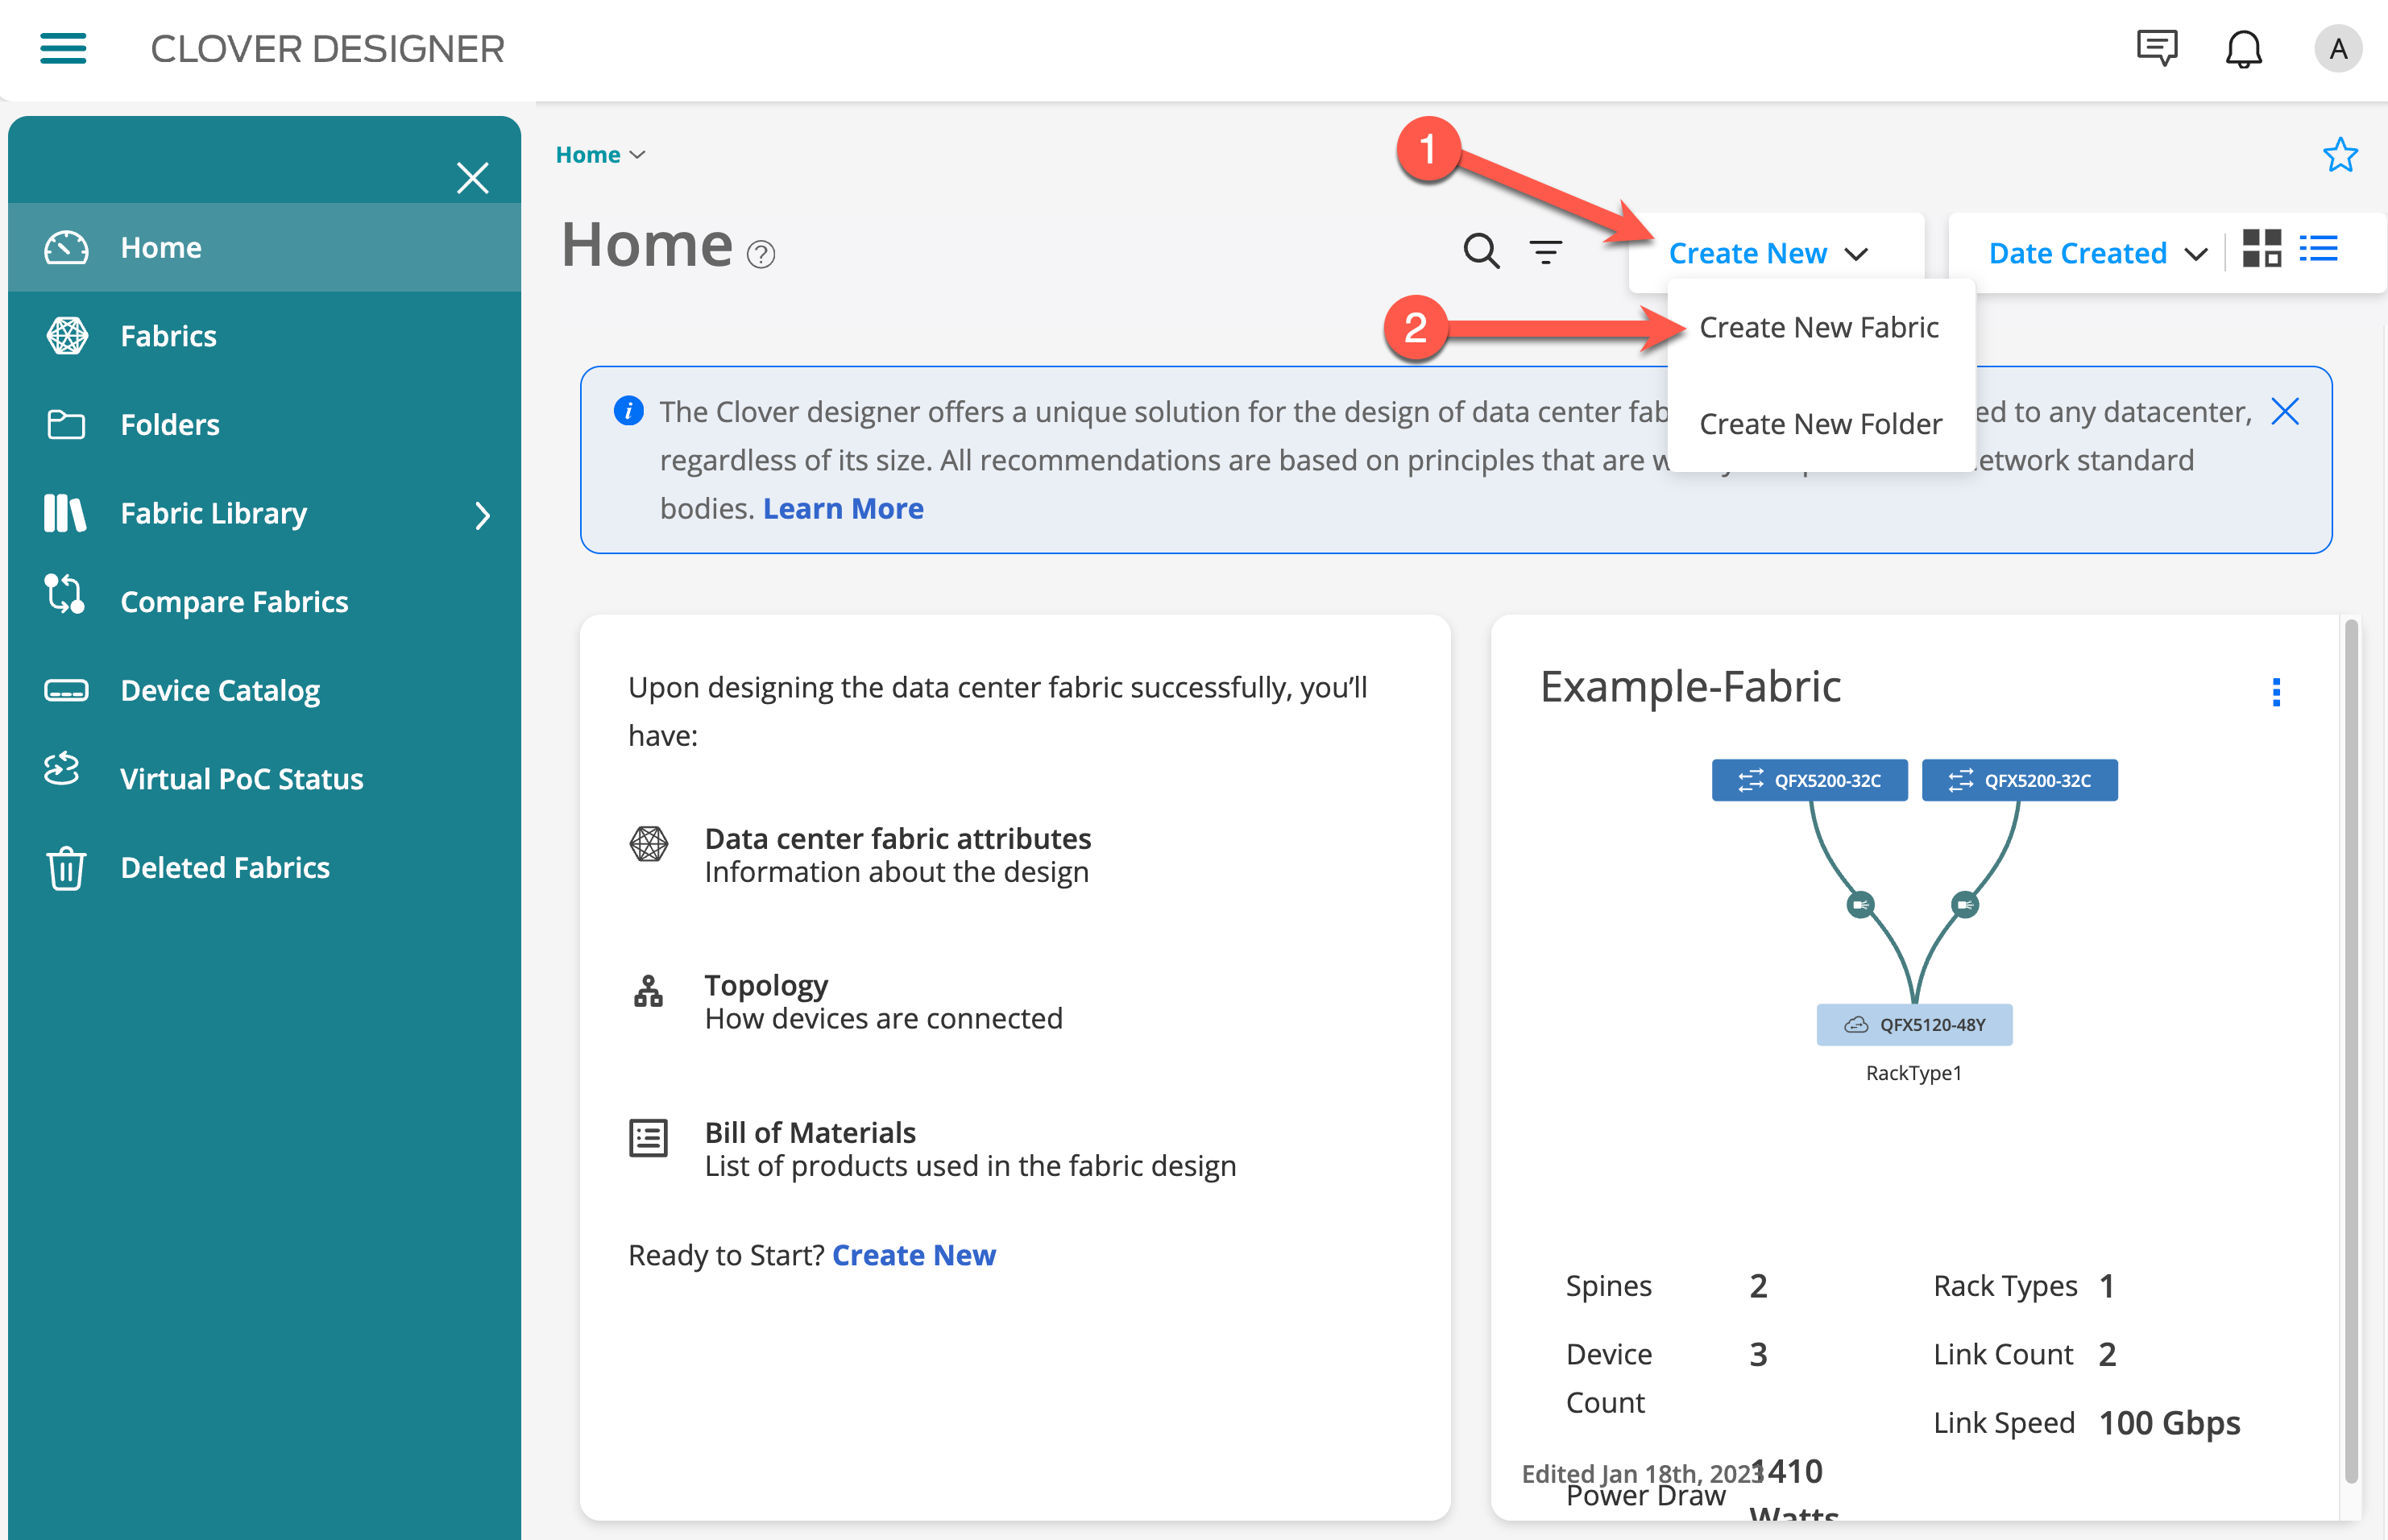
Creating a Data Centre Fabric Design
This section will walk you through how to create your DC design in Clover tool.
Start a New Design
Click on the Create New button on the home page.
Click on the Create New Fabric.
Configure General Information

Many of these are the default selection in Clover, only a few need changing.
Click on the Expand All button to expand all subsequent sections.
Enter the Fabric Name - use your full name e.g. “First_Last_Name”
Leave the Description blank
Select Overlay Network - VXLAN routing and bridging - Layer 2 & Layer 3 overlay (ERB)
Set Apstra Managed - Yes
Set Allow Breakout for Fabric Ports - Yes
Select Apstra license - 5 Years | Premium (This optimizes EndUser cost structure with 40% off the top (before discounting); Provides full functionality including Flow, AIOps w/ Service Awareness & Impact Analysis)
Click Next.
Define Rack Types
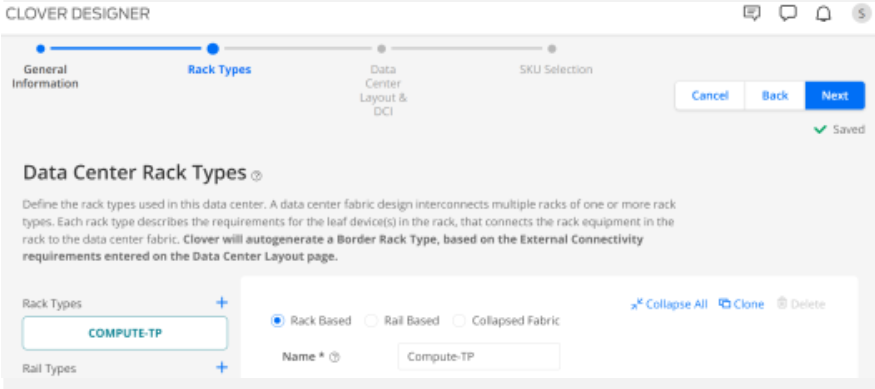
Select Rack Based at the top of the page.
Name the rack Compute-TP.
Set Access Ports to 10 Gbps RJ45 and 40 ports.
Select Redundant Leaf Switches
Click Clone
Name the rack Compute-SFP.
Set Access Ports to 10 Gbps and 40 ports.
Click Clone
Name the rack Storage.
Set Access Ports to 25 Gbps and 24 ports.
Click Next.
Data Center Layout
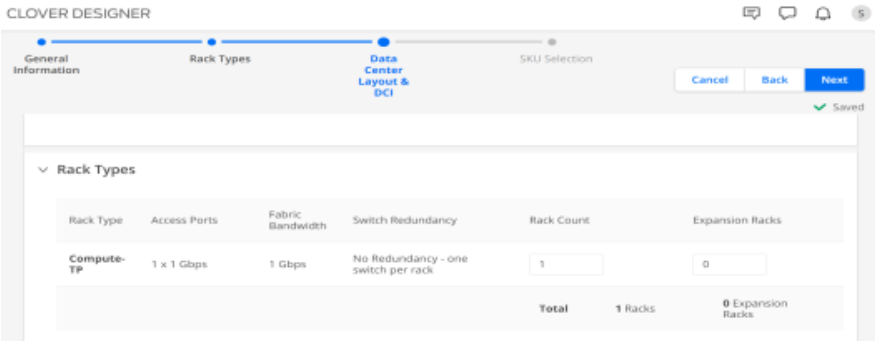
Set Compute-TP | Rack Count to 4
Set Compute-SFP | Rack Count to 2
Set STORAGE | Rack Count to 1
Click Next.
Set SKU Selection | “Clover Recommended *” to No
Set Expand Rack Type | Storage | “Leaf Device *” to ACX7100-32C (Storage intensive enterprise apps require deep buffer associated with Broadcom Jericho silicon; Notice STORAGE rack devices are modified)
Generate The Fabric Design
Click Generate
Future Proof The Design

Click Edit Fabric
Select SKU SELECTION
Set **Spine Device *** to QFX5130-32CD (Consider future-proofing the design at the spine level by moving up to a 400 gig interface. Change the recommended switch platform to a 400 gig 5130 and save the changes.)
Click Save
Review & Document The Design

Click View Details (Notice cost increases by ~$100k to accommodate 400G)
Click Elipsis (3 Dots)
Click View Build of Materials (At top of screen…switch between ‘Bill Of Materials Summary’ and ‘Per SKU’)
Click Export and Ensure Adobe Acrobat is selected and click on ‘Export’; Turn OFF ‘Show List Price for SKUs’
Share HLD with Tech counterpart & prospect
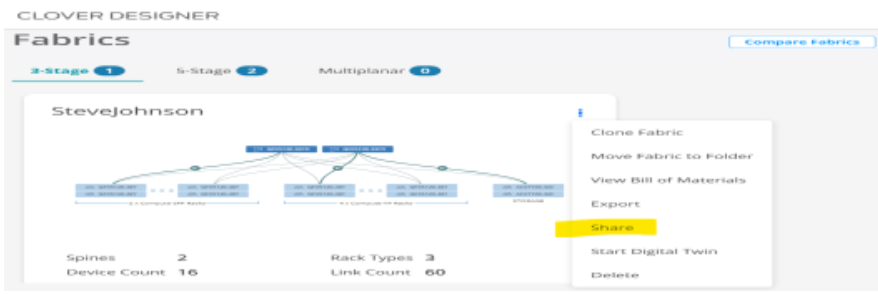
In Fabrics click Elipsis
Click Share and Email Address of colleague that has access to Clover Designer; In Description, explain the scenario and request technical review before sharing with prospect.
After internal review is complete, send email to prospect. Include PDF from Clover Designer with HLD and BOM (w/o pricing) in response to requirements.
Create a ‘Digital Twin’ in Apstra
What is Apstra Cloud Labs
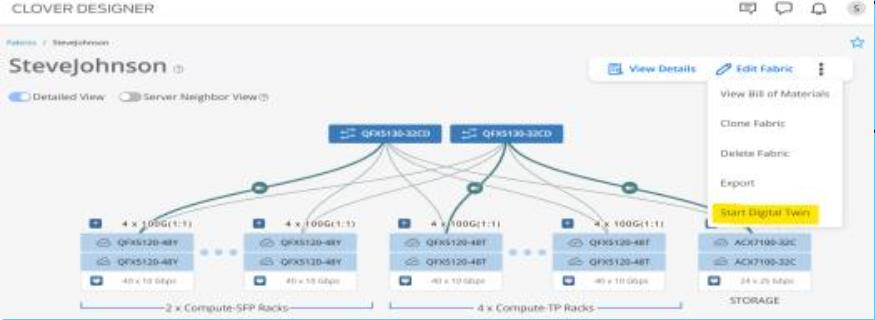
Start Digital Twin
Create a digital twin inside Apstra and provide the information to connect to the instance.
In Fabrics click Elipsis
Click Start Digital Twin
Expand Digital Twin Parameters, and enter the following information:
URL for Apstra Instance - Shared by Presenter
User Name - Shared by Presenter
Password - Shared by Presenter
Device Type - Physical Devices
Test Connectivity -
Click Launch Digital Twin.
Once Launch Digital Twin is activated in Clover Designer, immediately open this screen in Apstra CloudLabs to access the PoV environment.

Verify Apstra Blueprint
Let’s verify the Apstra Blueprint matches the Clover Design HLD
In the ACL Blueprints, watch the Scaffolding take effect.
Open Blueprint and select ‘Staged’.
Once Staging is complete (green), view various sub tabs in Physical tab.
Deliver Proof-of-Value
Now it is time to deliver the Proof-of-Value to the prospect.
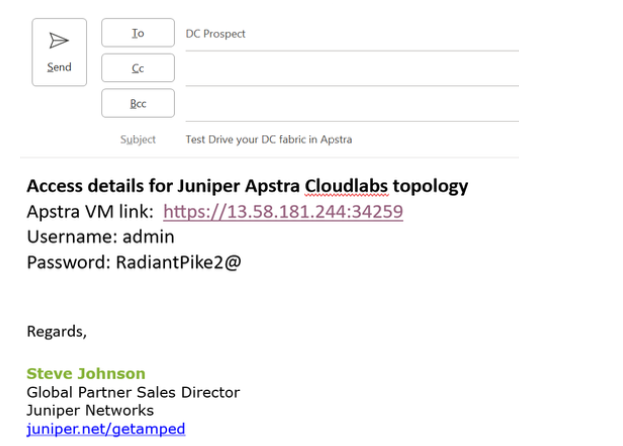
To enable prospect to test drive their Fabric Design in Apstra…on Apstra CloudLabs home page, click on topology name hyperlink and then at top of screen Copy topology details and paste into email message.
In the ACL Topology, Send email #2 after confirmation the HLD accurately addresses requirements.
Simply send email created in Start Digital Twin section above that includes Apstra CloudLabs parameters: Apstra VM link, User Name, Password
You have successfully completed this Hands-On Lab!
Lab Survey
Please take 2 minutes and complet the Solutions Accelerator Hands-On Lab Survey
